How to remove old insulation from attic
Removing old insulation from your attic might seem like a daunting task, but with the right tools and a little know-how, it can be a straightforward DIY project. Whether you're looking to improve your home's energy efficiency or simply upgrade to a better insulation material, this guide will walk you through the process of removing old attic insulation safely and effectively. Taking on this project yourself can save you money and give you the satisfaction of knowing you've improved your home's comfort and efficiency.
However, it's important to approach this task with careful planning and preparation. The process involves potential exposure to hazardous materials and requires a methodical approach to ensure effectiveness and safety. By following this guide, you'll be well-equipped to tackle the job, understanding both the reasons for removing old insulation and the steps required to do so safely.
Why Remove Old Insulation?
Before diving into the "how," let's address the "why." Old insulation can lose its effectiveness over time due to factors like moisture, pests, and general wear and tear. When insulation becomes damp or compressed, its ability to insulate diminishes significantly, leading to higher energy bills and less comfort in your home. Moreover, insulation that has been compromised by pests can also become a health hazard, as it may harbor mold, bacteria, or other allergens.
Furthermore, it might also contain harmful materials like asbestos if your home was built before the 1980s. Asbestos was commonly used in building materials for its fire-resistant properties but is now known to pose serious health risks when fibers are inhaled. Removing old insulation can improve air quality and pave the way for more efficient insulation solutions, ensuring a safer and more energy-efficient home environment. Additionally, upgrading to modern insulation materials can significantly enhance your home's thermal performance, reducing your heating and cooling costs.
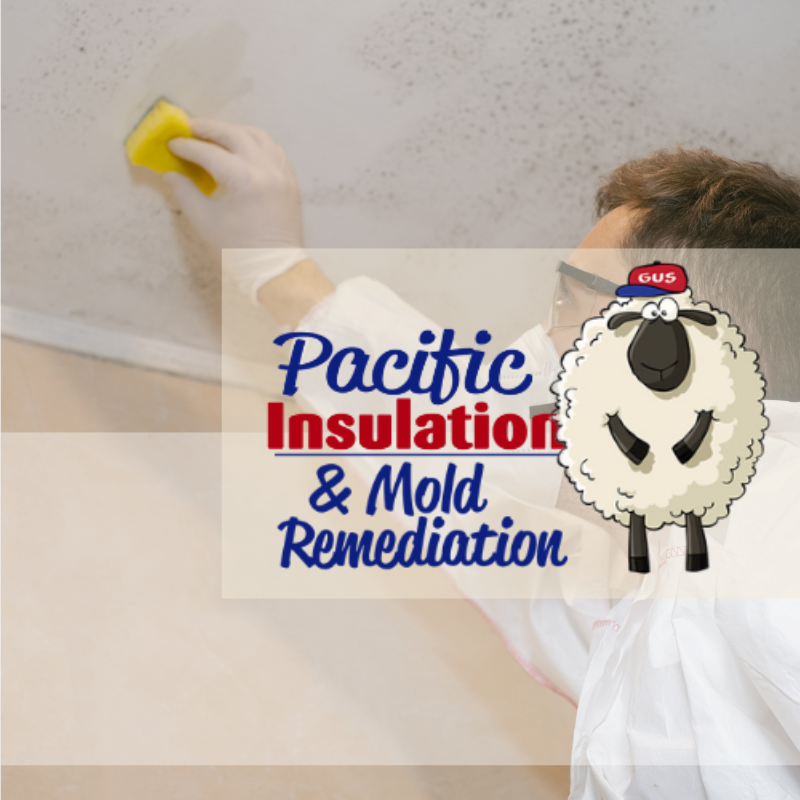
Safety First: Gear Up
Before you start, ensure you have the right safety gear. Old insulation can be dusty and may contain irritants. Without proper protection, you could be exposed to harmful particles that can affect your respiratory system or cause skin irritation. Therefore, equipping yourself with the correct gear is an essential first step.
Here's what you'll need:
- Gloves: Protect your hands from irritation. Choose thick, durable gloves that will prevent fibers from penetrating the material and reaching your skin.
- Dust mask or respirator: Prevents inhalation of dust and fibers. A respirator with a HEPA filter is ideal as it will filter out even the smallest particles.
- Safety goggles: Shields your eyes from debris. Opt for goggles that seal around your eyes to provide maximum protection.
- Long-sleeved clothing: Covers your skin to prevent irritation. Wear clothing that fits snugly to avoid catching on insulation or other materials, but is thick enough to keep fibers from reaching your skin.
Types of Insulation and How to Remove Them
Understanding the type of insulation in your attic is crucial, as different materials require different removal techniques. Proper identification will ensure that you handle the insulation safely and effectively.
Fiberglass Insulation
Fiberglass insulation is one of the most common types found in homes. It appears as batts or rolls and is relatively easy to remove. This type of insulation is known for its affordability and effectiveness in various climates, making it a popular choice for many homeowners.
- Start at One Corner: Begin in one corner of the attic and work your way across. This systematic approach ensures you cover every area without missing spots.
- Roll It Up: Gently roll up the fiberglass batts. Be careful not to compress the material, as this releases more fibers into the air. Take your time to handle the batts carefully, minimizing disturbance to the fibers.
- Bag It: Place the rolled-up insulation into heavy-duty garbage bags for disposal. Ensure the bags are tightly sealed to prevent fibers from escaping during transport.
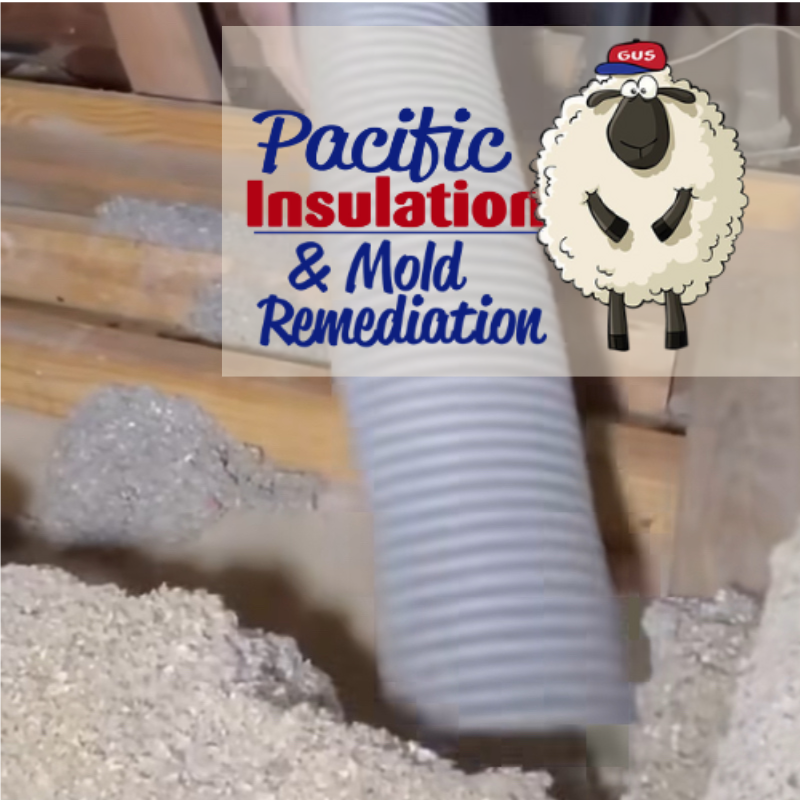
Blown-In (Loose Fill) Insulation
This type of insulation, often made of cellulose or fiberglass, is trickier to remove because it's not in a contained form. Its loose nature means that it can easily spread throughout the attic, requiring a different approach for effective removal.
Tools You'll Need:
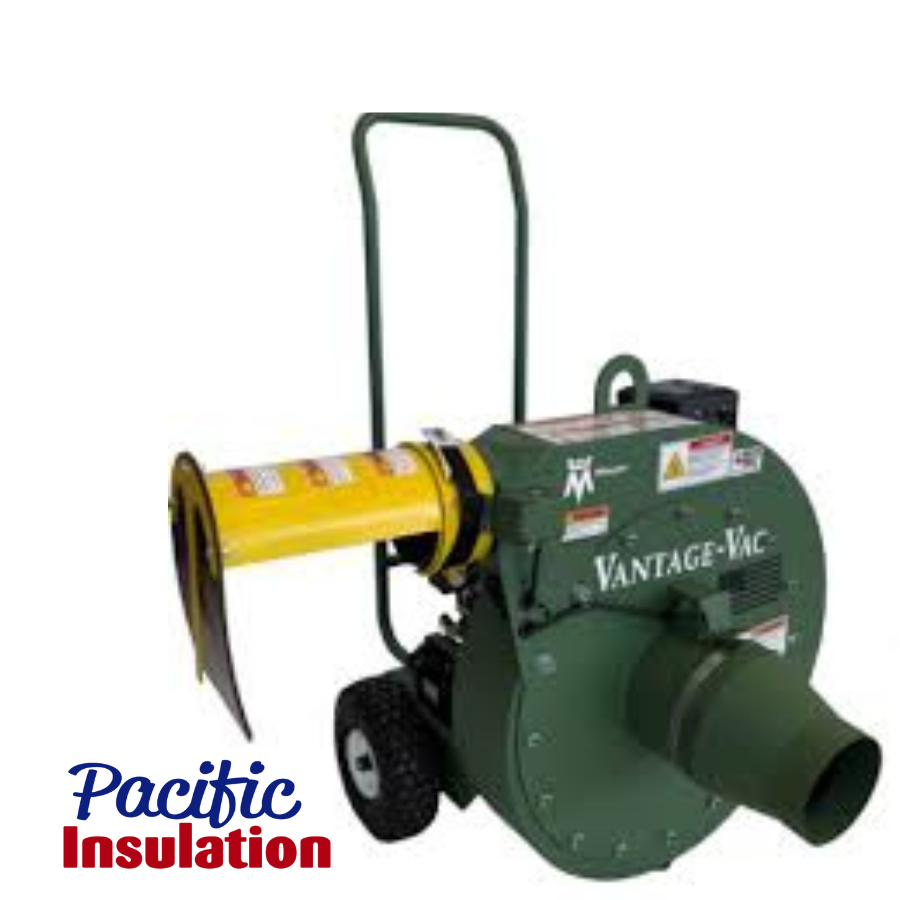
- Insulation vacuum: You can rent one from a home improvement store. These powerful vacuums are specifically designed to handle loose-fill insulation.
- Large plastic bags: For collecting the vacuumed insulation. Make sure they are durable enough to hold the weight without tearing.
Steps:
- Set Up the Vacuum: Follow the manufacturer's instructions to set up the vacuum. Ensure all connections are secure to prevent leaks.
- Start Vacuuming: Begin at one end of the attic, vacuuming the insulation into the hose. Move slowly and methodically to ensure all insulation is removed.
- Dispose Properly: As the vacuum bag fills, replace it with a new one and seal the filled bag tightly for disposal. Check with local regulations for the appropriate disposal methods for insulation materials.
Asbestos Insulation
If your home was built before the 1980s, there's a chance your insulation contains asbestos, a hazardous material. Asbestos poses significant health risks, and its removal requires specialized handling.
If you suspect asbestos, do not attempt to remove it yourself. Hire a professional abatement company to handle the removal safely. These experts have the necessary equipment and expertise to manage asbestos-containing materials without risk to themselves or your household.
Preparing Your Attic for New Insulation
Once the old insulation is out, it's time to prepare the attic for new insulation. Proper preparation ensures that the new insulation will perform optimally, providing maximum energy efficiency and comfort.
Clean the Space
- Sweep the Floor: Use a broom or vacuum to remove any remaining debris. This step ensures a clean surface for the new insulation to adhere to and prevents any old material from compromising the new installation.
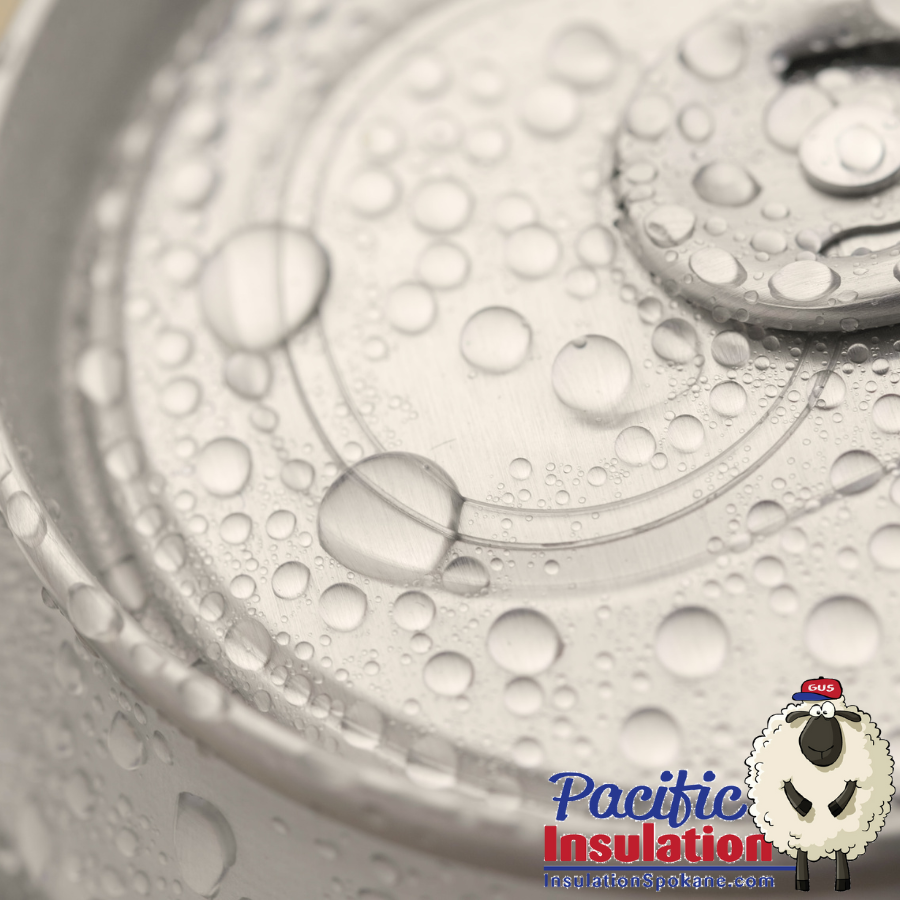
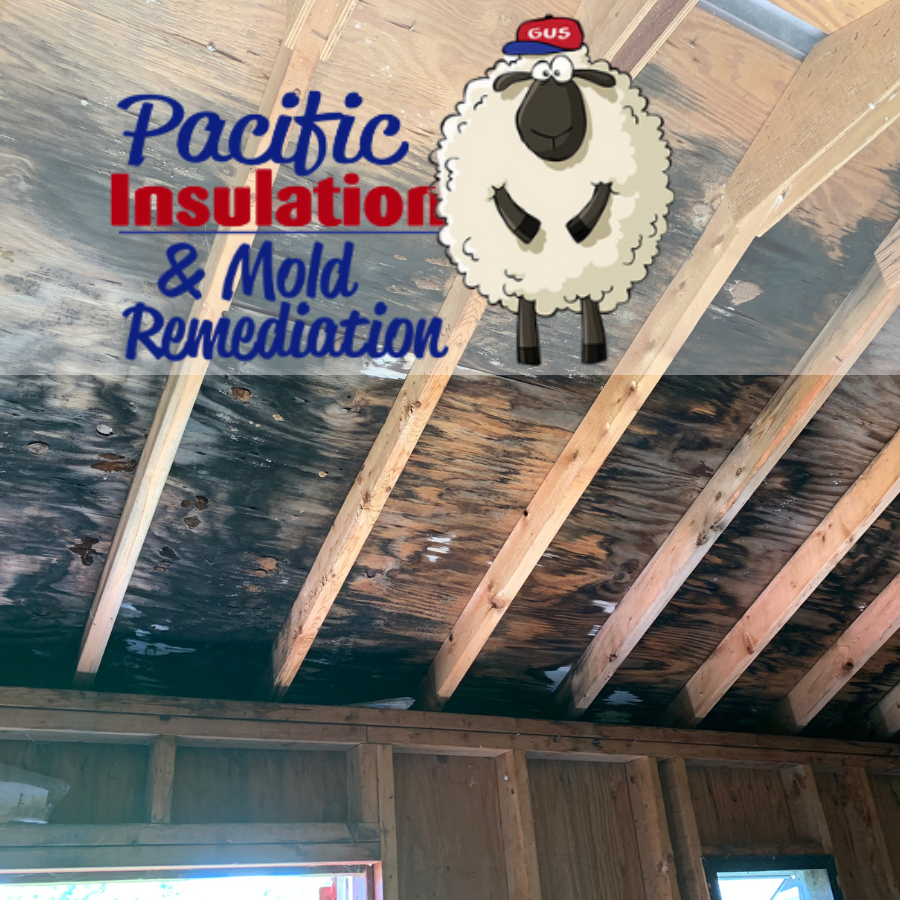
- Check for Moisture: Inspect for signs of leaks or moisture damage. Address these issues before installing new insulation. Moisture can severely damage insulation and reduce its effectiveness, so repairing leaks is crucial.
Seal Gaps and Cracks
- Caulking Gun: Use a caulking gun to seal gaps around windows, vents, and other openings. This step is vital for preventing drafts and improving the overall energy efficiency of your home.
- Foam Spray: For larger gaps, use expanding foam spray to seal the space. Foam spray expands to fill voids, providing a comprehensive seal against air leaks.
Install Ventilation
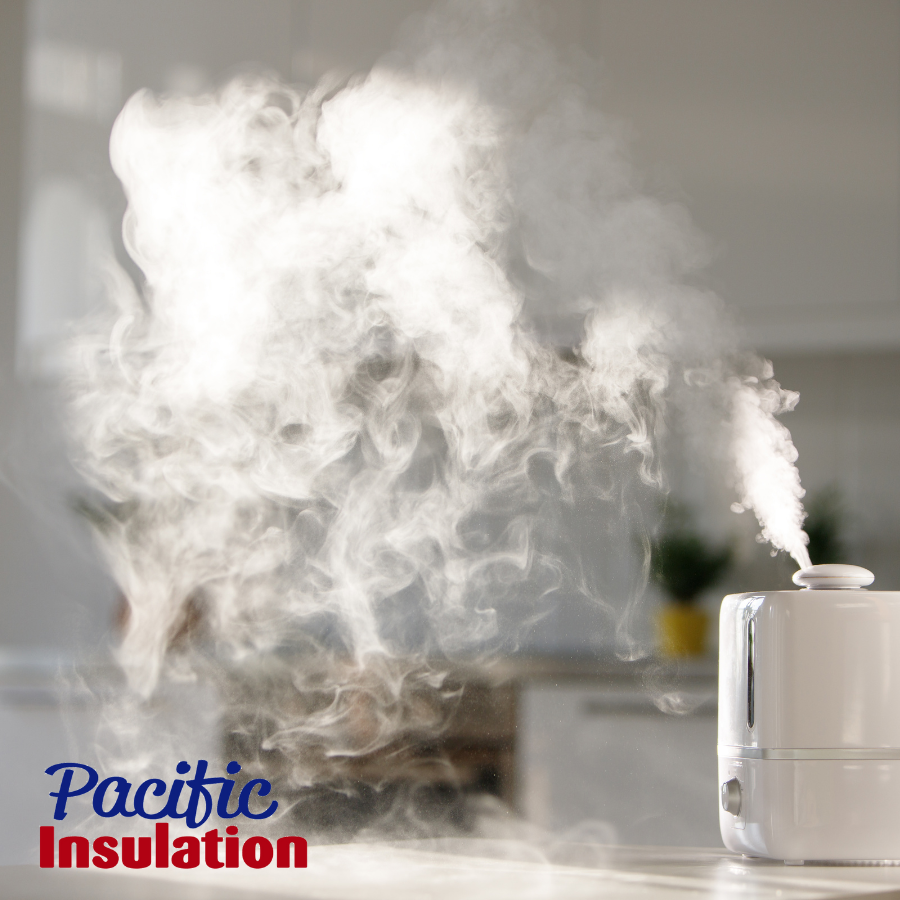
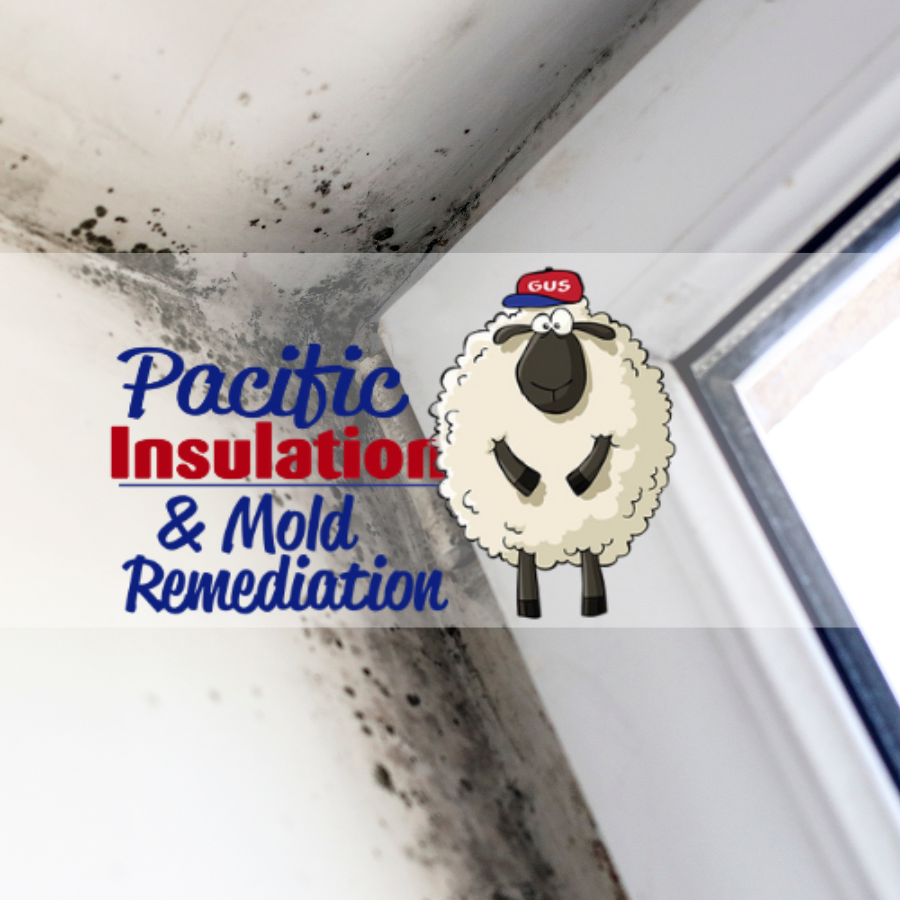
Proper ventilation is crucial to prevent moisture buildup and ensure the efficiency of your new insulation. Without adequate ventilation, moisture can accumulate, leading to mold growth and reduced insulation performance.
Consider installing ridge vents or soffit vents if your attic lacks ventilation. These additions help maintain air circulation, keeping the attic dry and the insulation effective.
Best Practices for New Insulation Installation
Now that your attic is prepped, you can choose the right insulation for your needs. Selecting the appropriate type of insulation is key to achieving the desired energy efficiency and comfort levels in your home.
Fiberglass Batts
Fiberglass batts are easy to install and provide good thermal resistance. Measure your attic space and cut the batts to fit snugly between the joists. Ensure there are no gaps between the batts, as this can reduce their effectiveness.
Blown-In Insulation
Blown-in insulation is excellent for hard-to-reach areas and provides consistent coverage. Use a blower machine to evenly distribute the insulation across the attic floor. This type of insulation is ideal for attics with irregular shapes or obstructions that make batt installation challenging.
Spray Foam Insulation
For superior sealing and insulation, consider spray foam. This material expands to fill gaps, providing excellent energy efficiency. However, it's best installed by professionals due to its application complexity. Professional installation ensures the foam is applied evenly and effectively, avoiding common pitfalls such as uneven expansion or overspray.
Proper Disposal of Old Insulation
Once you've bagged the old insulation, check with your local waste management service for disposal guidelines. Some areas have specific regulations for disposing of insulation materials. Following these guidelines is important to ensure safe and environmentally responsible disposal.
Improper disposal can lead to fines or environmental harm, so it's crucial to understand and adhere to local requirements. If you're unsure, contact your local waste management authority for assistance.
Final Thoughts
Removing old insulation from your attic is a manageable DIY task with the right preparation and safety precautions. By taking the time to remove and replace old insulation, you're investing in a more comfortable and energy-efficient home.
Remember, if you ever feel uncertain or unsafe, don't hesitate to call in a professional. Expertise can prevent costly mistakes and ensure the job is done safely and effectively. Happy insulating!